First Person Animation in Godot - Part 2
In the second part of these series we are going to setup our Godot project to display the viewmodel assets we exported in part 1.
Setting up the base scene
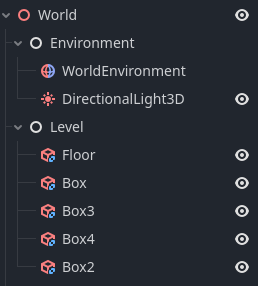
The base scene is simple and consists of a few nodes:
- A Node3D that holds the other node, called
World - A standard Node that holds the world environment nodes. The world environment uses a HDRI as its sky texture.
- Directional light that simulates a sun
- A standard node that holds objects in the level, such as the ground and some boxes. These are CSG nodes, and don’t contain any collision as it is not needed for this purpose.
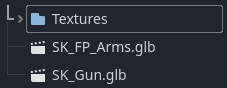
The next step is to import the files to the project, you can drag and drop the .glb files in a folder. Make sure the texture is also present next to these files.
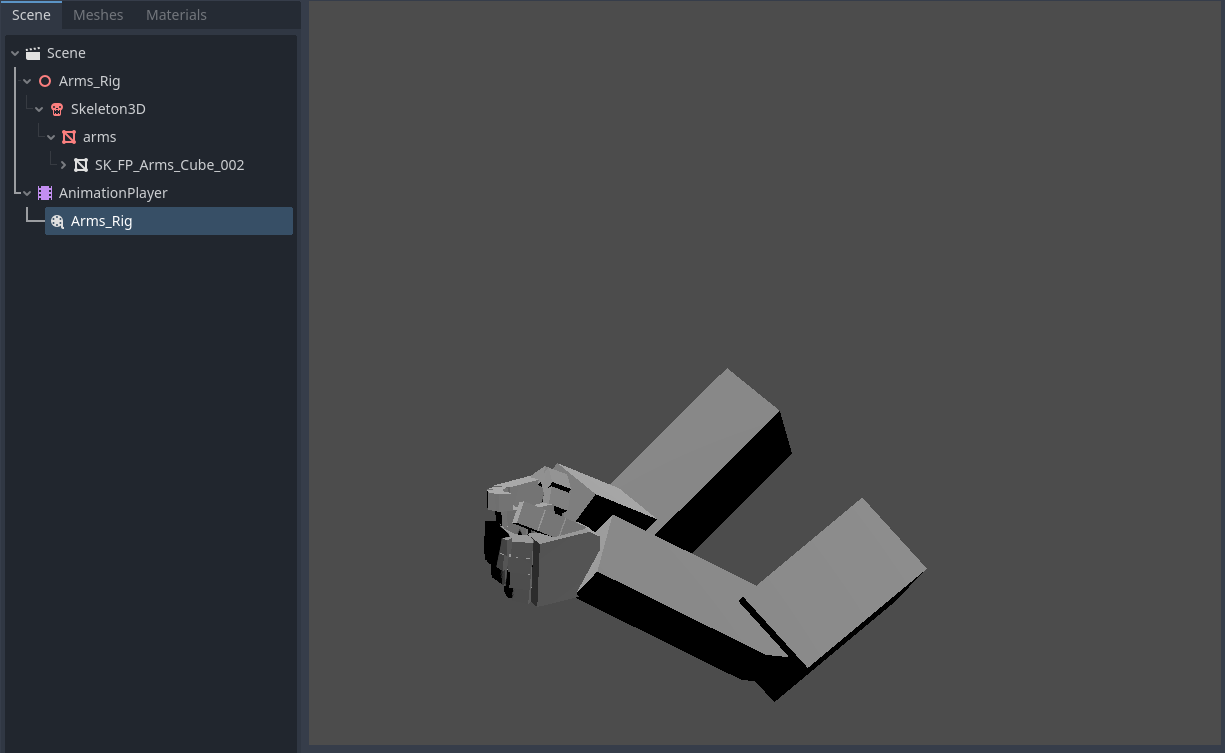
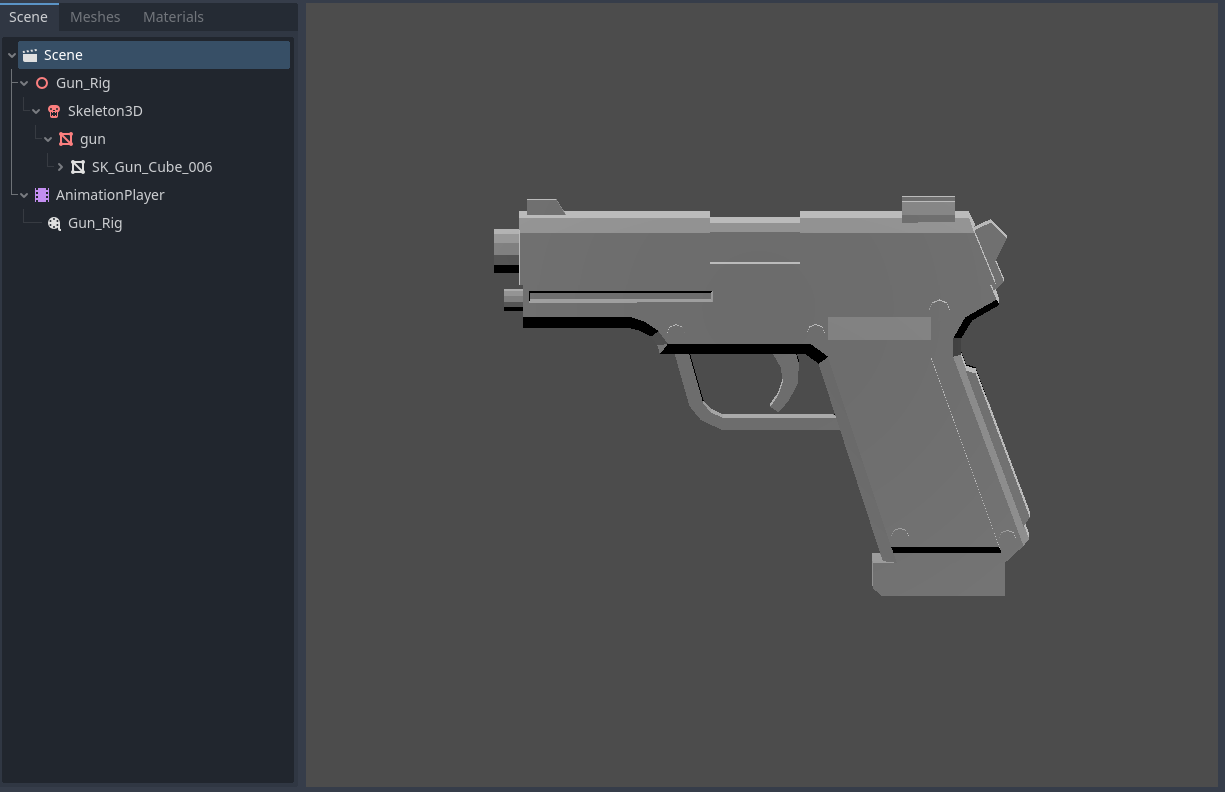
You can verify that the animations are working on the armature and gun, by opening the .glb files and playing the animation on the AnimationPlayer node.
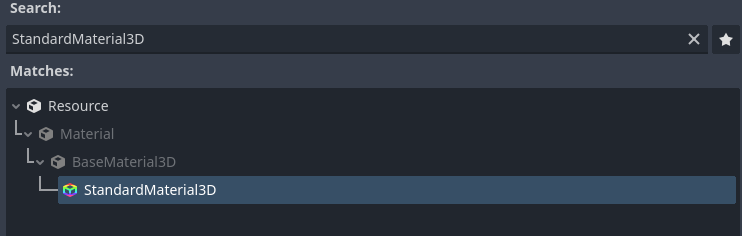
Next we create a material resource that holds the texture for the arms and gun mesh. Create a new resource in your project folder and select StandardMaterial3D.
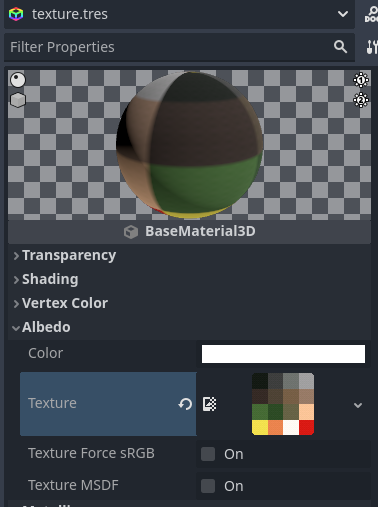
Assign the texture image to the Albedo of the material.

You are now done with setting up your assets, and are able to continue to setup the viewmodel in the scene!
Setting up the viewmodel
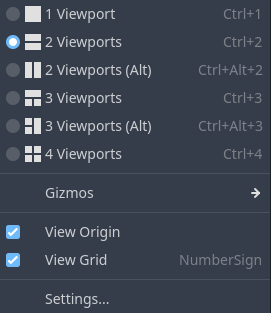
First, split your viewport in to two screens. This will be needed later to position the gun properly and match it with the first person view.
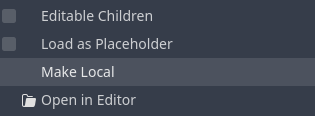
Create an empty 3D scene and add a main Node3D called PlayerViewModel. Add the arms .glb file under this node, and make it local by right clicking the file -> Make Local.
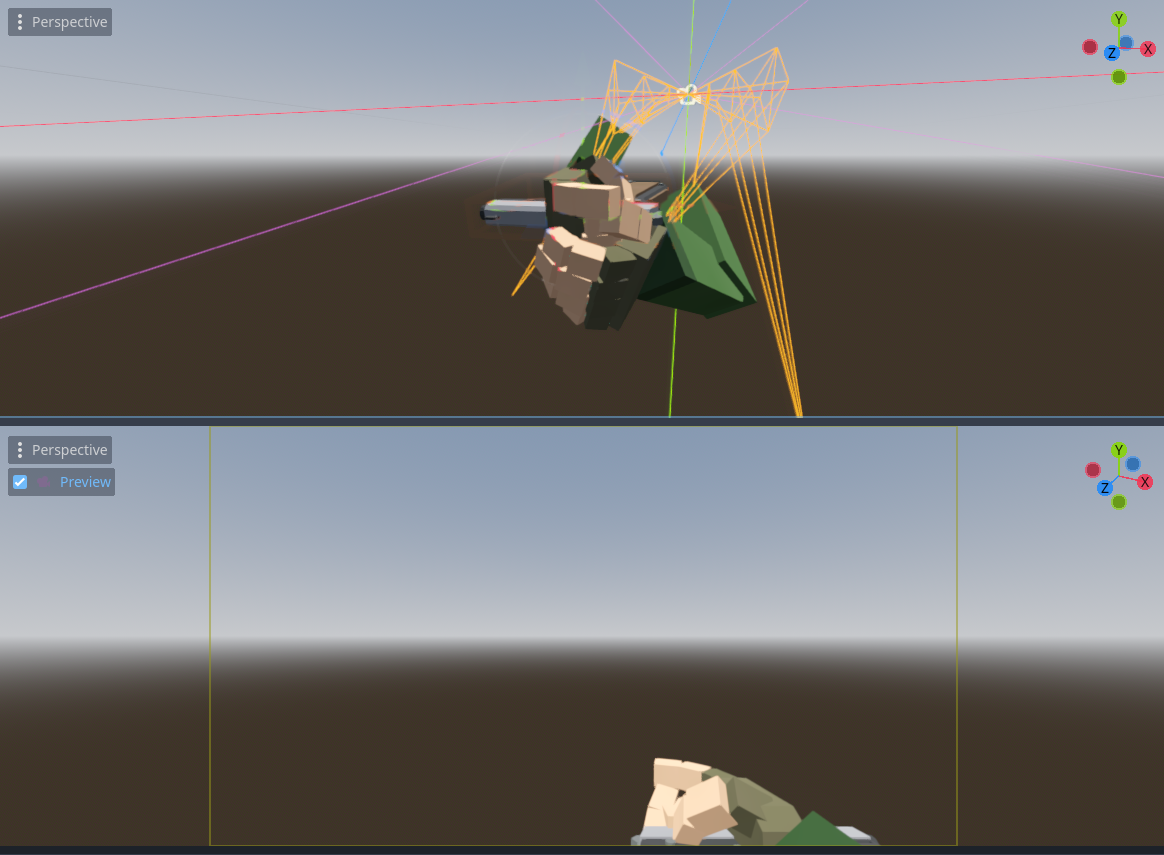
Your hierarchy should now look similar to the following example, except for the socket bones.
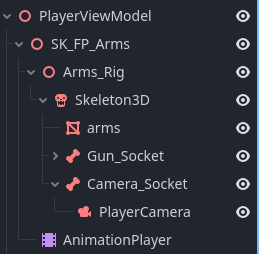
Under the Skeletal3D node, add two BoneAttachment3D nodes and assign one to the camera bone, and one to the right hand bone. These attachments act as the sockets that will inherit the position and rotation of the parent bone. Name them Camera_Socket and Gun_Socket.
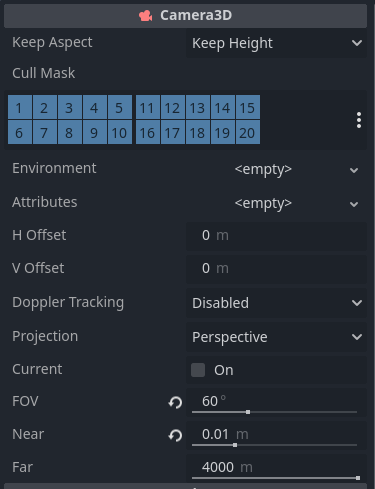
Add a Camera3D node under the Camera_Socket bone, and set Near to a small value. You can also tweak the FOV here. For this example I am using a FOV of 60.
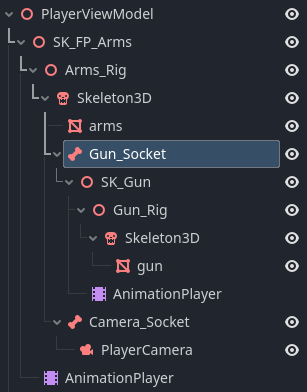
Finally, add the .glb file of the gun under the Gun_Socket node, and make it local as well. The hierarchy should now look like this:
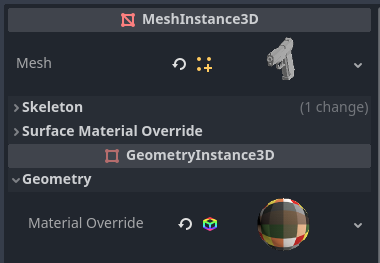
You can assign the material to both the arms and gun meshes directly on the mesh instance nodes.
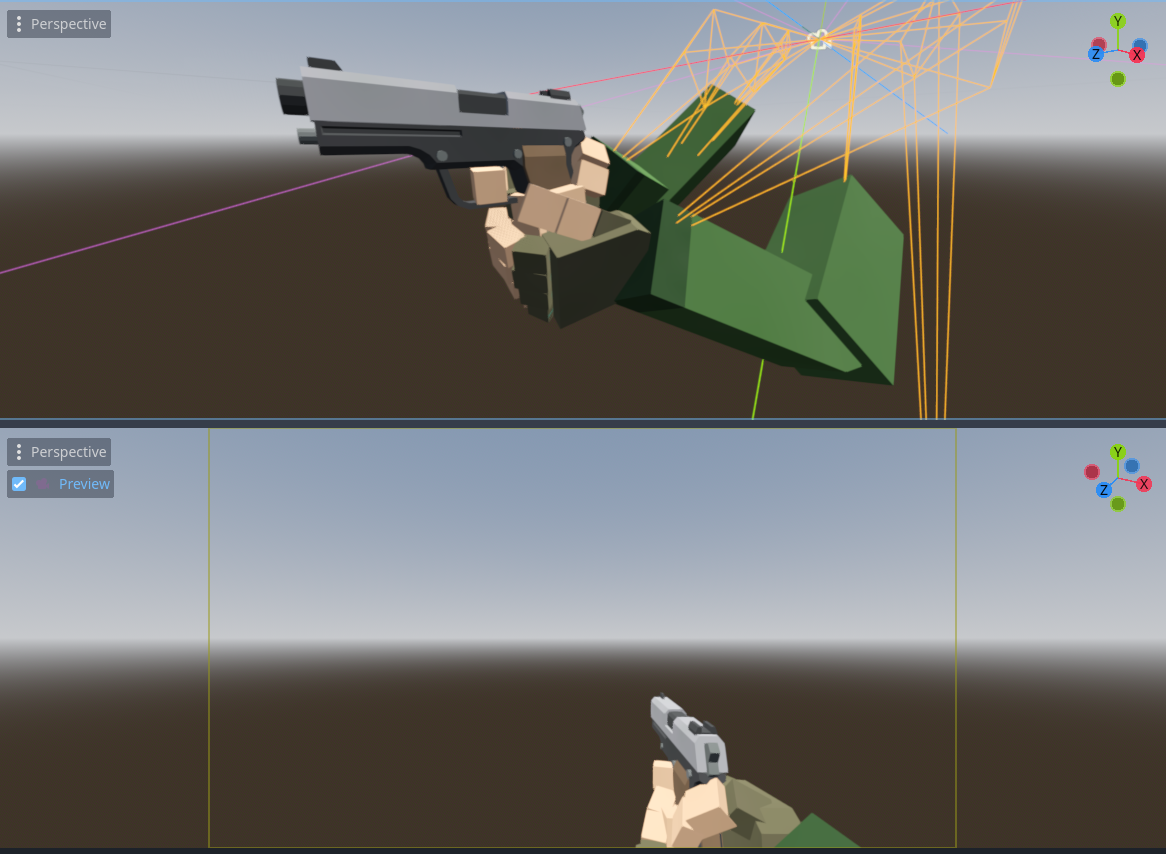
Your scene should now look like this. At the moment, the gun is not alligned correctly. Move the gun in the correct position by moving it manually.
Finally, set both the reload animations on the arms and gun to “play on load” and “loop”. Make sure to add the viewmodel scene to the main scene and press play to see the results.


Crosshair
For the dot crosshair I have used the following code to draw it on screen using a CenterContainer node:
public partial class Crosshair : CenterContainer
{
	[Export] private float _dotRadius = 3.0f;
	[Export] private Color _dotColor = Color.Color8(255, 255, 255, 255);
	[Export] private float _dotOutlineRadius = 4.2f;
	[Export] private Color _dotOutlineColor = Color.Color8(0, 0, 0, 255);

	public override void _Ready()
	{
		QueueRedraw();
	}

    public override void _Draw()
    {
		DrawCircle(new Vector2(0.0f, 0.0f), _dotOutlineRadius, _dotOutlineColor);
        DrawCircle(new Vector2(0.0f, 0.0f), _dotRadius, _dotColor);
    }
}
Next steps
This should allow you to test out viewmodel animations in Godot. In a future blog post, I will look into exporting multiple animations with one rig. If you have any recommendations / suggestions or other comments, please open a discussion on GitHub