Rigging a gun in Blender
In this blog post I will guide you through the process of rigging a weapon in Blender, so it can be used in animations. In this example I am using the STG44 model from TastyTony.
Prerequisites
- Blender 4.0.2
- STG44 model from TastyTony
Goals
- Rig and skin the gun
- Add movement constraints
Preparing the gun model
Few notes on the model: The model is download as .FBX and is triangulated by default. This makes it more difficult to select parts of the gun when assigning vertex groups. The model comes with vertex groups and an armature, however the point of this guide is to know the fundamentals of doing this. In this example, I removed the existing armature and vertex groups and joined every part of the mesh by selecting everything and pressing CTRL + J.
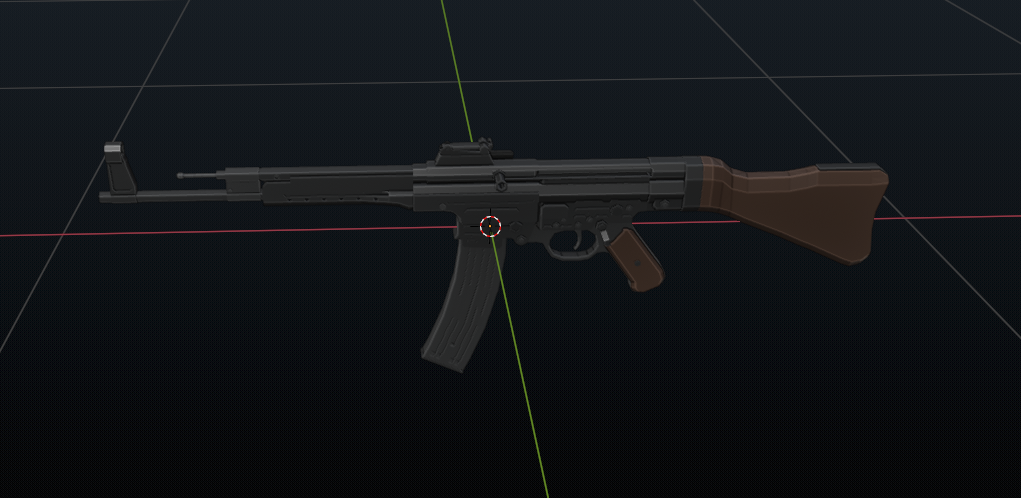
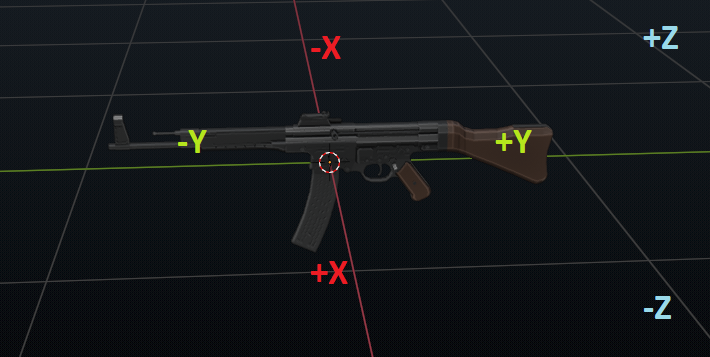
Move the weapon to the center of the scene (world origin). To do this, make sure that the 3D cursor is centered to the world origin. You can do this by pressing SHIFT + S -> Cursor to world origin. Next, you can select the mesh and move it to the 3D cursor location. If needed, scale the mesh down, and rotate it so the barrel points to the -Y axis.
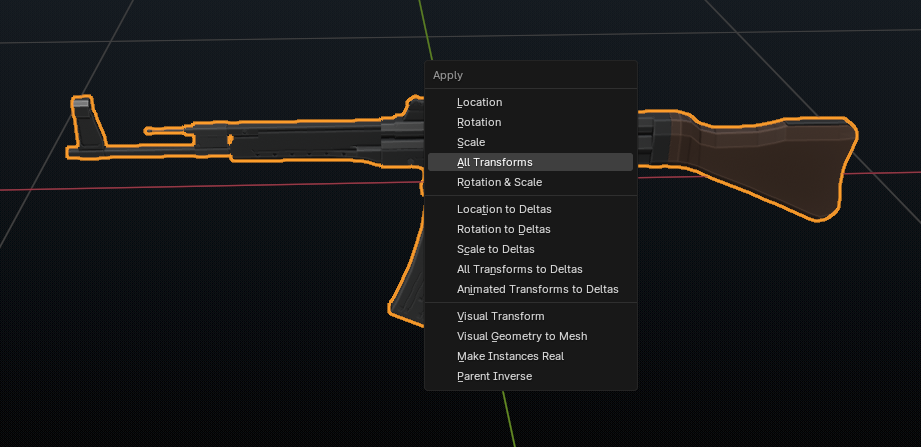
Make sure that all the properties of the mesh are set to 0. You can verify this by selecting the mesh and pressing CTRL + A -> Apply transforms. This will set the location and rotation to 0. The scale will be set to 1.
Creating an armature & Adding a root bone
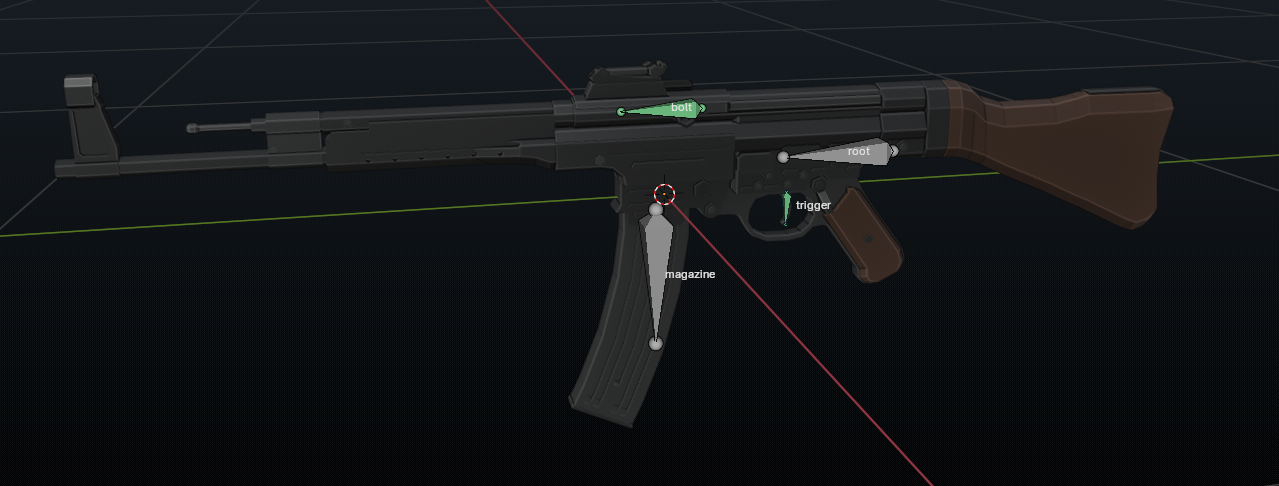
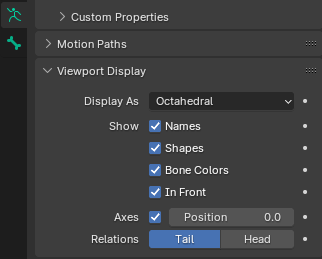
Create a new armature with SHIFT + A and name it. Select the bone, go into edit mode, and navigate to the object data properties panel on the right. This is the green running stick figure icon. Open the viewport display tab and tick every box under “Show”.
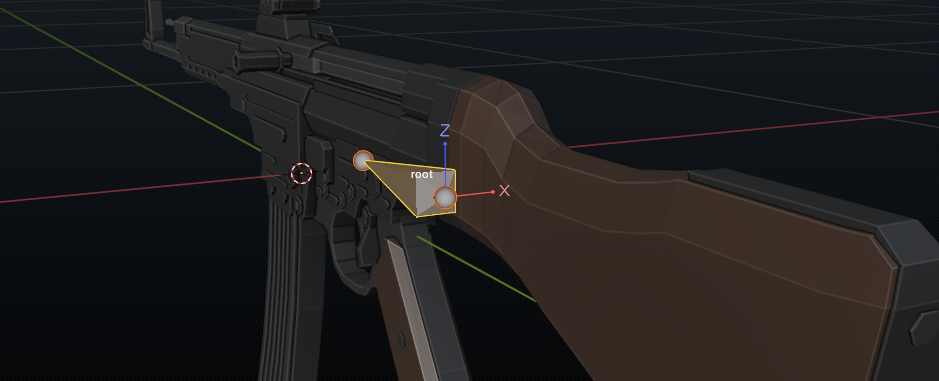
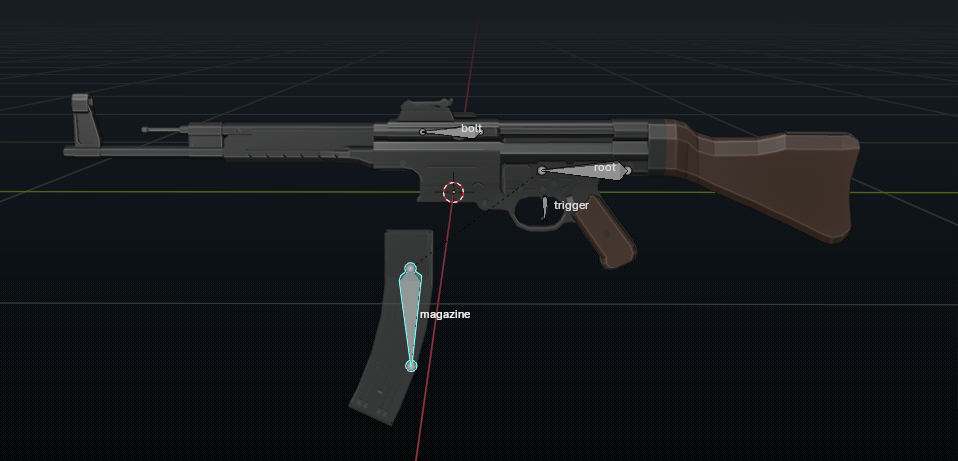
Rename the bone to GUN_ROOT or something similar, and position it to a location that defines the root of the gun. The root is usually the location where the object will be rotated as a whole. The gun center or back are often good locations to place the root bone. When placing a bone, make sure that the Z axis is pointing upward. If not, you can change this by going to the bone properies tab, and changing the roll property.
Adding the child bones for gun parts
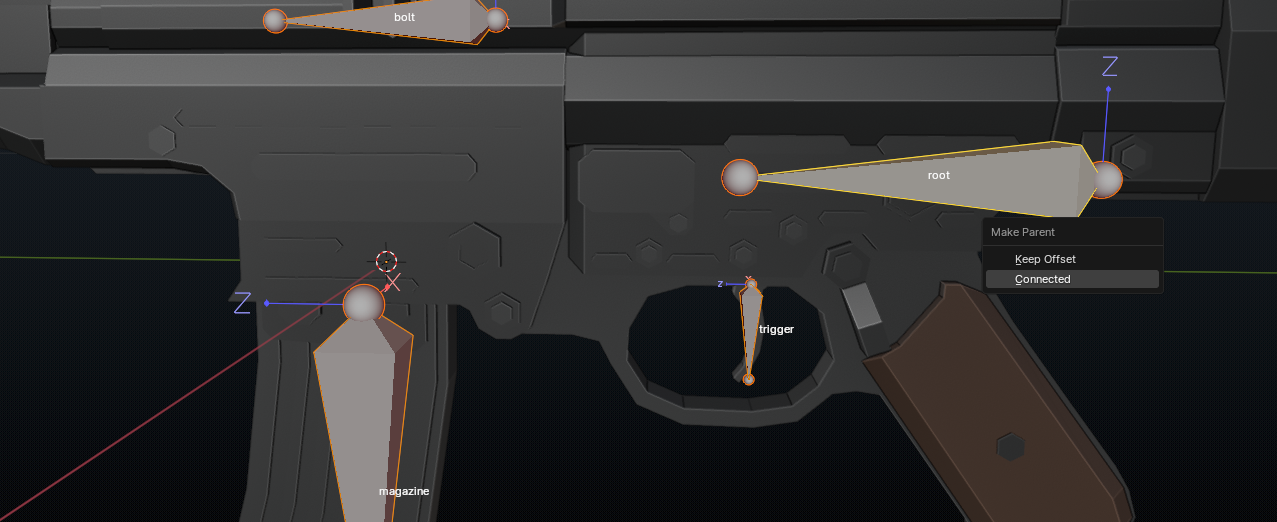
Next we’re going to add bones for other parts of the gun that will move, such as the bolt, magazine and trigger bones. Select the root bone and duplicate it with SHIFT + D and place it in position. Parent all child bones to the root bone by selecting the child bones, then selecting the root bone. Press CTRL + P -> Keep offset. You can check the relations of a bone in the bone properties panel.
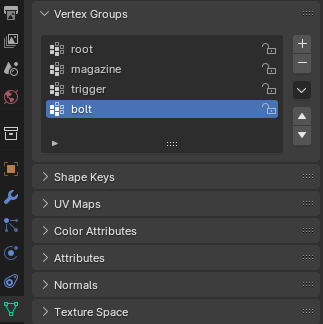
Assigning vertex groups
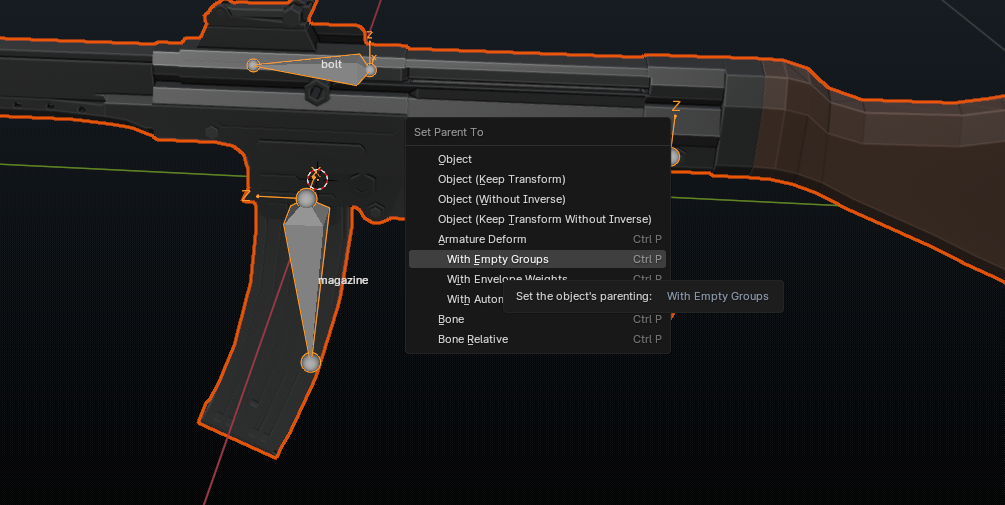
In this stage we assign the vertices of the actual mesh to a group, so they can be moved when a bone moves. You can create these vertex groups yourself, or create empty ones based on the bones we created. To do this, select the gun mesh first and then the armature. Press CTRL + P -> Armature Deform -> With Empty Groups. This creates vertex groups for the gun root, slide and magazine bones.
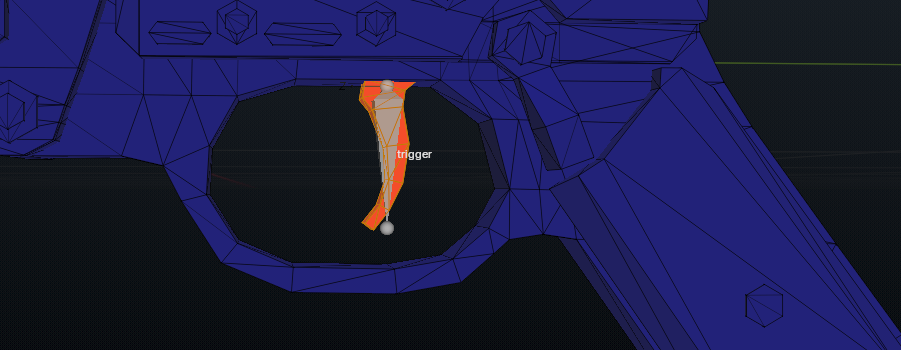
Select the model and go into edit mode. The best way to mark the vertices is by using L / CTRL + L. Because the model is triangulated, this does not work as expected. You will have to select the faces using box select and SHIFT + LEFT CLICK. For the trigger this is simple:
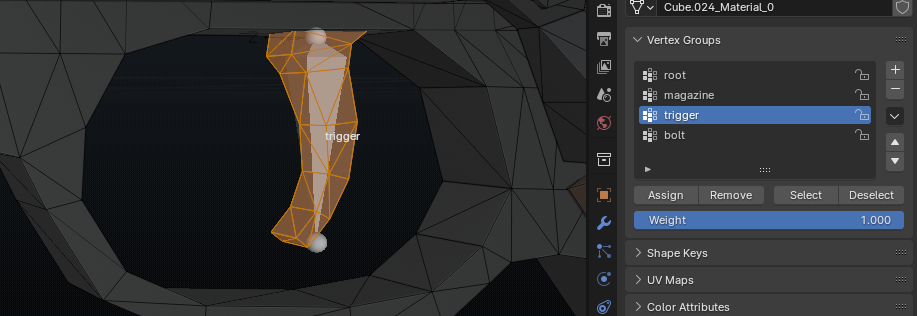
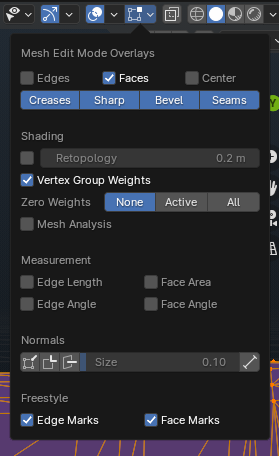
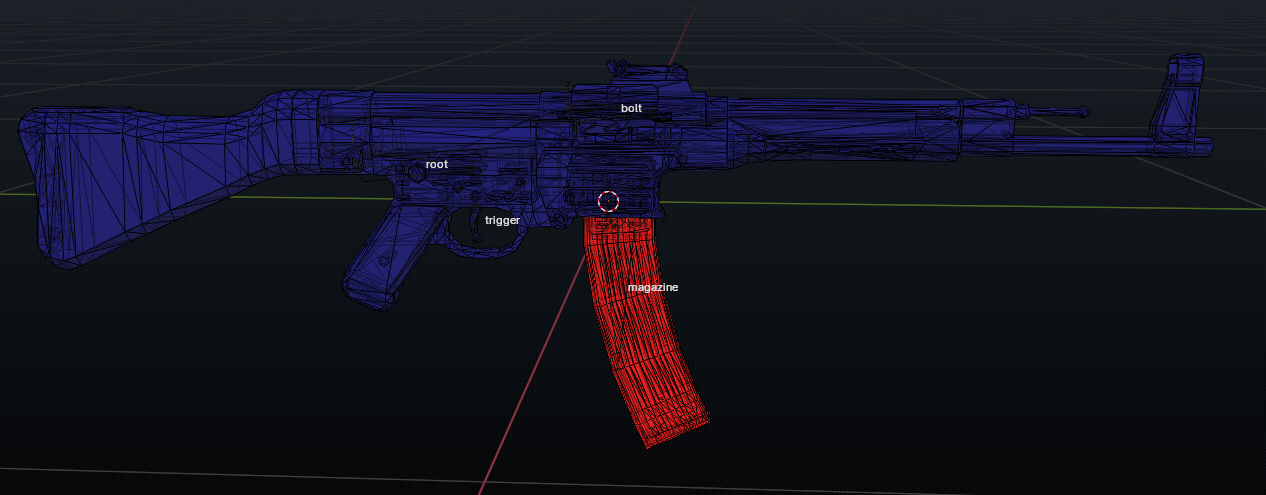
Once you have the vertices selected that should move with the trigger bone, press assign on the vertex group. To visualize what you have assigned, you can set vertex group weights to true:
When you select the vertex group, it will show the assigned vertices in red.
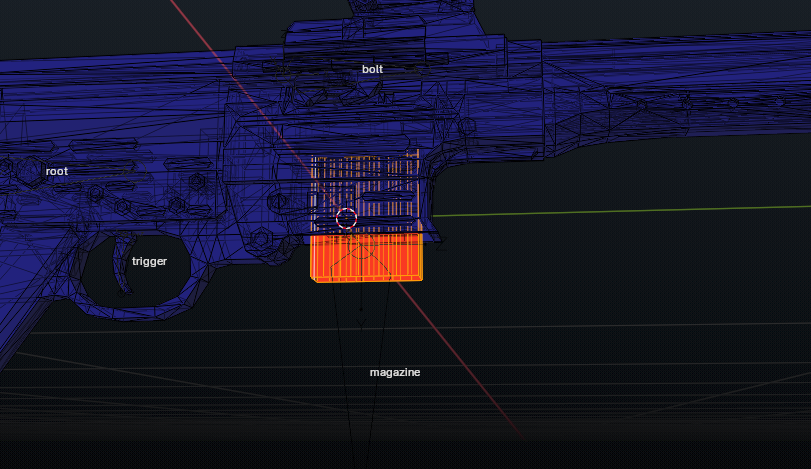
For the other parts, you can hide parts of the gun that are not related. Do this by using box select and pressing H to hide parts of the mesh. After assigning the vertices to the vertex group, press ALT + H to unhide the hidden parts of the mesh. In the following example, I have used this strategy with the magazine as part of the magazine was hidden:
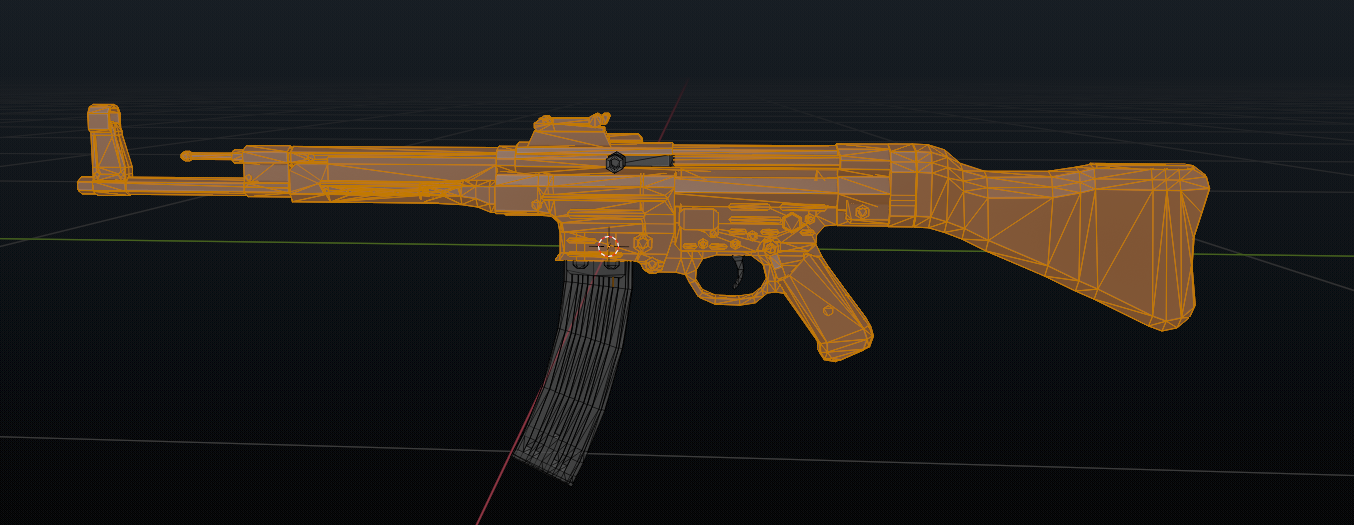
Finally assign the rest of the mesh to the root bone by selecting all vertex groups first, and then select the inverse with CTRL + I.
The gun parts are now linked to the armature bones. The last thing is to lock location, rotation and scale for the bones accordingly. This makes animating easier in a later stage.
Adding constraints
For the bolt and trigger, I have added bone constraints so they cant be moved “out of place”.
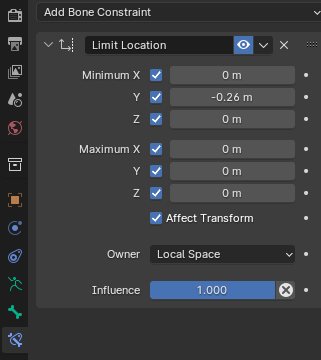
- Bolt
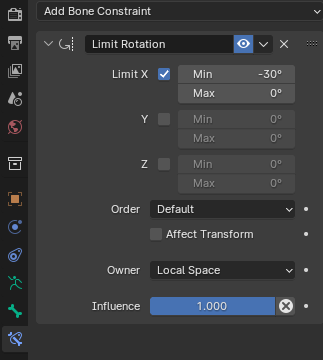
- Trigger
The gun is now rigged, and can be used with an armature to animate!